{My Main Squeeze} Using the “Daydream and Sunshiny Day” Kits
Hello everyone! Jessica here, sharing a layout today using
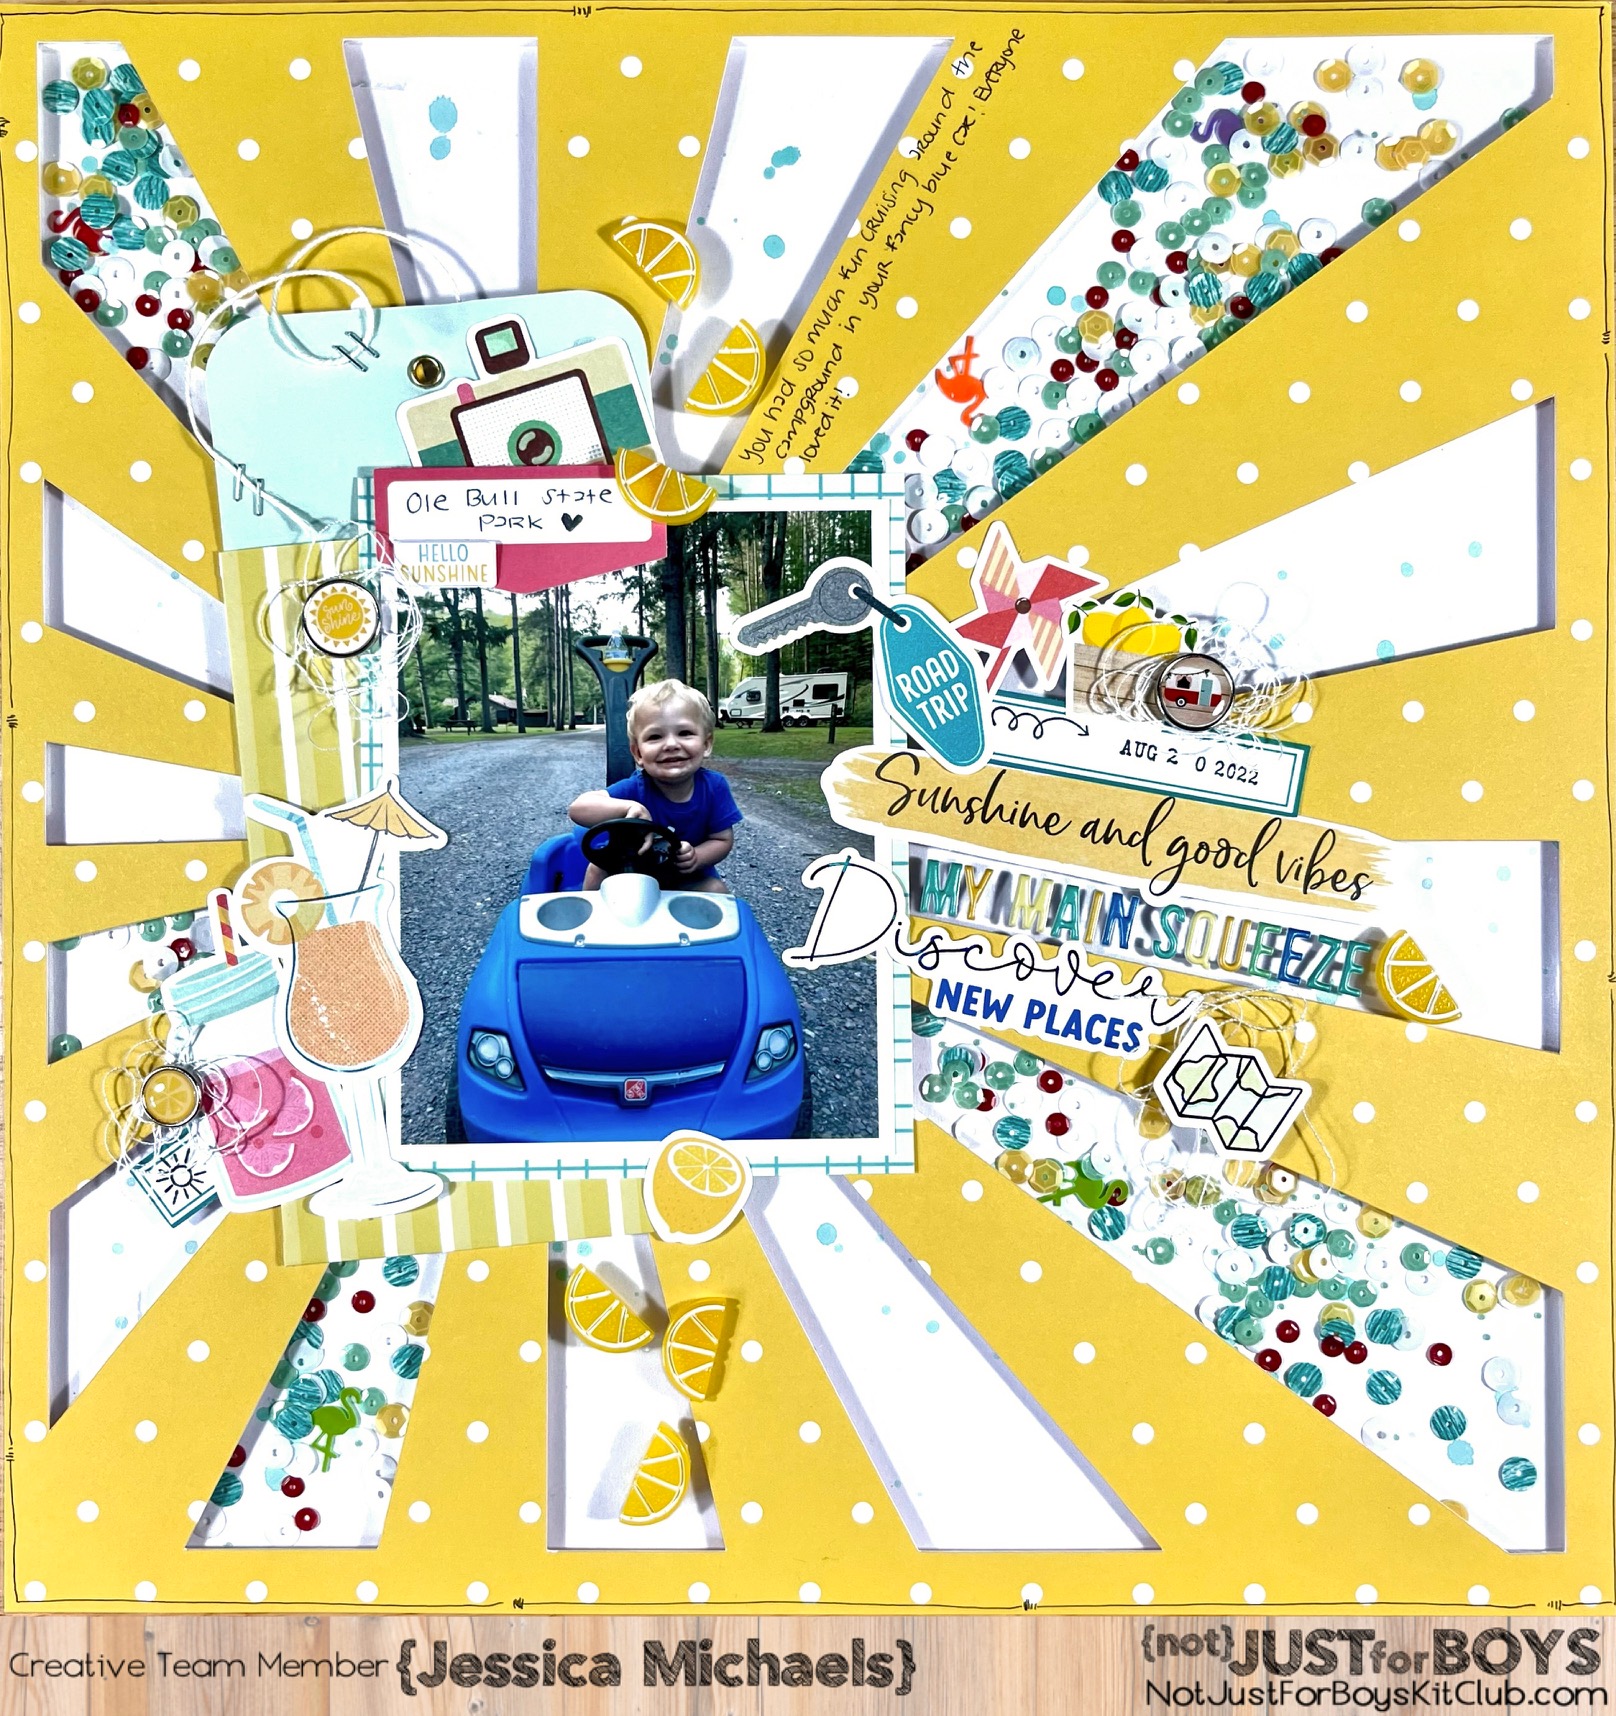
the “Daydream” Limitless kit and the “Sunshiny Day”
Page Kit to document a photo of my son cruising in his blue car in our favorite
campground!

I actually started this layout by grabbing the negative piece of a
cutfile from one of my previous layouts created here and used it on top of a
sheet of white cardstock. The yellow patterned paper I used was from the Sunshiny
Day kit and I cut a starburst cutfile by Paige Evans on my Cricut machine. The
negative piece I didn’t use on that layout was way too beautiful to throw out
so I saved it and that’s where this layout idea came from! I added splatters to
the white cardstock with the Shimmerz mist that came in these kits and then
used some Big Mama foam tape by Spiegelmom Scraps to make some shaker pockets
to hold those beautiful flamingo sequins. I popped up the entire back of my layout
so it would all have the same dimension when attaching to the white cardstock.
I adhered a 12x12 sheet of clear acetate to the cutfile and worked from the
back to build my shaker pockets.

I didn’t worry about being too careful about where my foam tape ended in
the middle because I knew I would cover that up with my photo. I pulled out one
of the envelopes from the Sunshiny Day kit and placed it behind my photo, which
I layered with one of the scraps of paper I had left from the Sunshiny Day kit.
I then began embellishing with bits from both the Sunshiny Day kit and the
Daydream Limitless kit.

I added my title with the letters from the Limitless kit and grabbed some other Vicki Boutin embellishments to go with it. I also added those cute little lemons to go along with my “Main Squeeze” title. I used my Nuvo Liquid Adhesive from the shop to adhere most of the embellishments to my layout. I also added a few enamel dots from my stash by Echo Park, and added some thread behind those and the map sticker.

Feel free to share your projects with
this kit on our {Not} Just for Boys Kit Club Community Facebook group or Instagram using the #notjustforboyskitclub
#njfb #daydream(or whatever kit you are using) tags!
Thank you for joining me today and I hope I have inspired you to create
something beautiful!
Jessica

Comments
Post a Comment