{Precious} Using the "Honeycomb" Page Kit
Hi y'all! Lacey here with my 3rd and final layout using the "Honeycomb" Page Kit. I started this page with inspiration from a sketch.

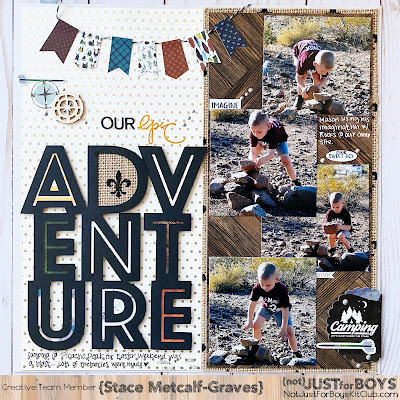
I use this half page/corner design a ton because it quick and always makes for an easy page. I was getting to the end of my stash of papers but knew I had a big piece of this one left. It was perfect to make the cut!

After that I decided to use a stencil from my stash as well as the Honeycomb stencil from the Essentials Kit to create a sunburst effect on the corner of my photo. I layered the two stencils and added the paste through them both.

After everything was dry I ran my page threw my sewing machine for some added stitching and details. This also went along with the sketch.

I built up lots of layers behind my photo with patterned paper as well as a few of the die cuts from the kit. I finished off with a few of the printed packaging dies that I hand cut to add to the page. I also used some gold thread and created some messy twiddles to tuck here and there. Followed of course by gold splatters.

Last this I did was add my title with some gold stickers from my stash and it was done! I love the simplicity of it but it has lots of layers and textures that catch your eye to keep you looking at it!
Thank you for popping on today! I hope I have inspired you to create in some way! Please follow along on our {Not} Just For Boys Kit Club Community Facebook group and be sure to tag us on Instagram with the following hashtags: #njfb #notjustforboyskitclub #Honeycomb (or whatever kit you are using!) Till next time, happy scrapping y’all!

Comments
Post a Comment