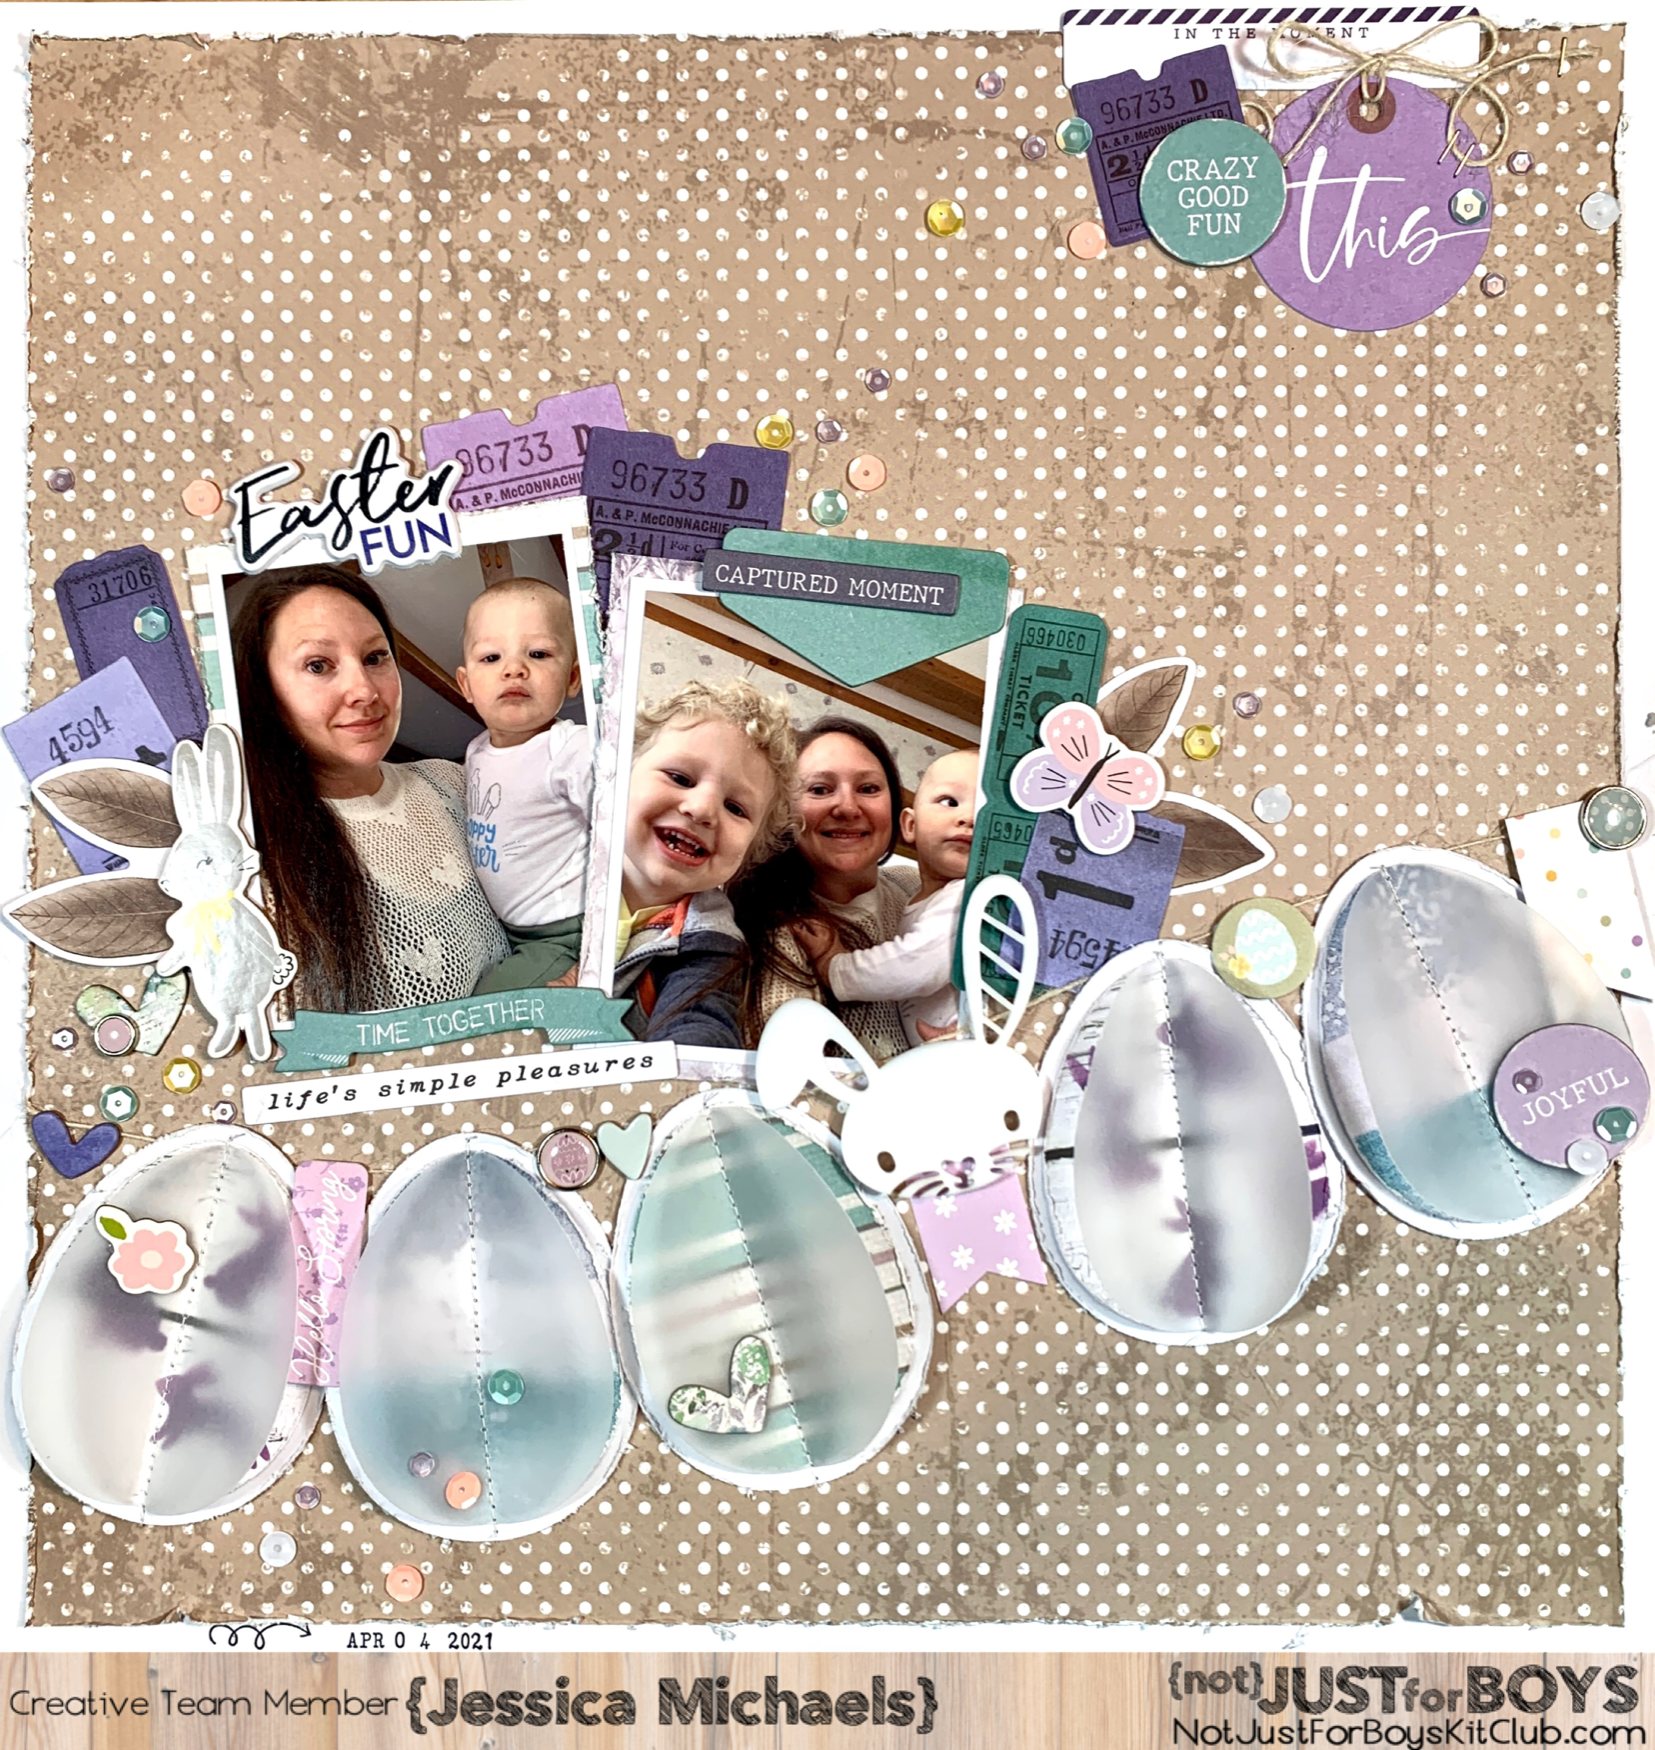
{Easter Fun} Using the “Aurora” Limitless Kit
Hello everyone! Jessica here, sharing a layout using
the “Aurora” Limitless kit and Essentials kit to document some Easter
photos from 2021(wow it’s been that long already, I need to catch up!). Did you
ever have a kit that you just absolutely fell in love with and had to have and
then once you start playing with it you’re on the struggle bus? That was me
with this layout. I fumbled and fiddled with this layout for about a week
straight, which is not like me. I am one to finish a layout in a couple hours
tops from start to finish with minimal fumbling. This one had me stumped as soon
as I pulled out the papers. I absolutely love the colors but it is a bit pastel
for my taste so I had a hard time with it. I figured out it’s mainly the papers
I’m struggling with as they are more neutral than I typically scrap but that’s
what makes it fun, I like a good challenge!

I started my layout by cutting out some Easter eggs and an outline for them on my Cricut out of some of the patterned papers from the kit and white cardstock for the outline. I distressed the edges of those and cut more Easter eggs from vellum to lay on top. The white woodgrain eggs I actually used the bunny stencil from the Easter kit and the dusty concord distress ink on. I layered up my eggs with the outline, patterned paper, and then the vellum and machine stitched down the middles of all of them so I could fold up the vellum for a cool effect.


I layered my photos with smooth white cardstock and then some of the
patterned papers form the eggs. I then had a rest with this layout as I was
really struggling at this point. It happens. I’ll be honest, I was having a
creative meltdown. I stewed on it over a couple days. Then a couple more.
Finally I came back to it and it all came together perfectly. I decided to
layer around my photo with some of the embellishments from the kit and just add
a bunch of things to it, including some elements at the top right since it was
looking a bit naked up there. Nobody wants that. Once I added all of those
goodies I was feeling a lot better about it but not quite finished yet. I added
sequins to finish it off of course!

Feel free to share your projects with this kit on our {Not} Just for Boys
Kit Club Community Facebook group or Instagram using the #notjustforboyskitclub
#njfb #aurora(or whatever kit you are using) tags!
Thank you for joining me today and I hope I have inspired you to create
something beautiful!
Jessica

Comments
Post a Comment