It may surprise you that I store my entire scrapbook stash as kits! 90% of these kits are homemade. NJFB Kits, along with a few others I have subbed to over the years, make up the other 10%. For me, working from a kit makes scrapbooking go so smoothly and quickly. After all, I only have a very limited amount of product in front of me to choose from, so decisions are made quickly and without a lot of fuss.
I do not include mixed media, solid cardstock, trims/embroidery floss, dies, punches, some alphabet stickers, and stamps in my kit storage system, I pull those out as needed while I'm working with a kit. Therefore, my kits are primarily patterned paper and embellishments. With this in mind, I will show you how I pre-plan to work through a NJFB kit. In this instance, I'm starting with a kit in mind, then finding photos. Sometimes I do the opposite and start with photos, then grab a kit that coordinates.
I have plenty of photos pre-printed. I'm talking 1000s, I print photos at the end of each month. So that part is already done. I print a very favorite photo or 2 from an event as 4x6s. The supporting photos I print as 3x4s. Occasionally, when I have a LOT of photos of an event, I will print an 8x10, 8x12, or 11x11 collage as well.
Ok, back to pre-planning my kit layouts. First, I lay my kit out on my desk so I can see pieces of all of the papers and embellishments. I can see the overall feel of the kit, the color scheme, everything I need to make photo choices.
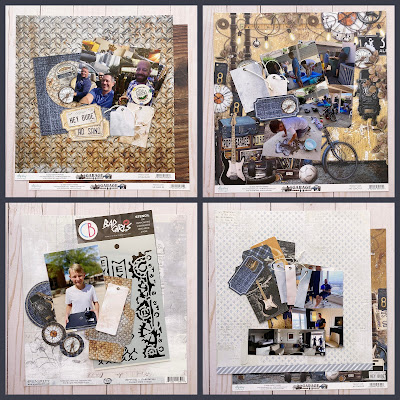
Next, I flip through a stack of photos and pull out what I think will coordinate with the kit. I base my decisions on color, theme, and "vibe". I usually pull out 4-7 sets of photos. Any more than that, and I get tired of working with the same supplies. The kits typically have enough supplies in them for 6-7 layouts, so there won't be too much left over either. For this example, I'm picking 4 sets.
Here are how my pictures look with the kit...
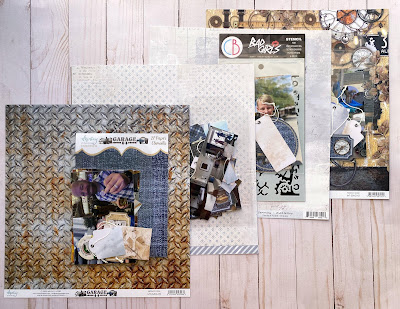
Next, I try to pick a paper or two that match each set of papers the best. These papers will typically be used either as the background of the layout, or a large portion of the background. At this point, I like to try to decide what order I will create the layouts. This way I will accumulate leftover scraps from the first layout to add to the second, then the third, and so on.
After I get the papers picked, I add a few of the "I don't want to forget these" embellishments that match each layout. I don't go too far with this part, just a few pieces of my favorite bits that match each page. I do this quickly, as I will be able to go back through the embellishment packs while I'm creating the layouts.
Finally, I put each set of photos and embellishments into plastic envelopes and store them stacked with the papers. I am now ready to scrapbook with my kit. Whether I'm using it at home, or bringing it to a crop, or heading to a friend's house, I'm ready to go. I will add in some cardstock (usually white). As I'm working, I know I can grab stamp sets, colored cardstock, fibers/trims, mixed media, etc. For this particular kit, I will pull in the "Burnished" Essentials Kit and coordinating a la carte items.
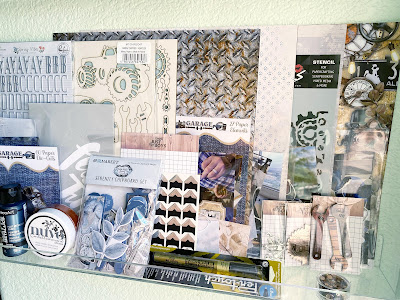
I stack up all 4 of these page sets, remaining kit contents, and a la carte supplies, and put them on a very shallow shelf on my wall for the month. As you can see here, I still haven't worked with last month's "Noteworthy" Kit yet. But it's displayed here to remind me to use it up!
And that is how I pre-plan my layouts using a NJFB Kit (or any kit for that matter). I hope I have inspired you to start pre-planning some layouts and use up your beautiful kits!!!
Keep your eyes on our
YouTube, as I plan on making a video of pulling photos and organizing a kit in the near future!
-Meridy Twilling


Comments
Post a Comment